-
Continue reading →: Sync Documents to Copilot Studio Agent
Suppose you plan to use SharePoint or OneDrive documents as a knowledge source for your Copilot Studio agent. In that case, there is now a better way to bring those documents to the agents than linking through the traditional connector or uploading. The new document sync feature will keep your…
-
Continue reading →: Guide to SharePoint Channel in Copilot Studio
SharePoint and an agent are perhaps the most used combination and something that many of you are building when creating your first Copilot agents. One constant request we hear is to publish the Copilot Agent to a SharePoint site. Earlier, this has only been possible by embedding the agent to…
-
 Continue reading →: Find and List SharePoint Agents
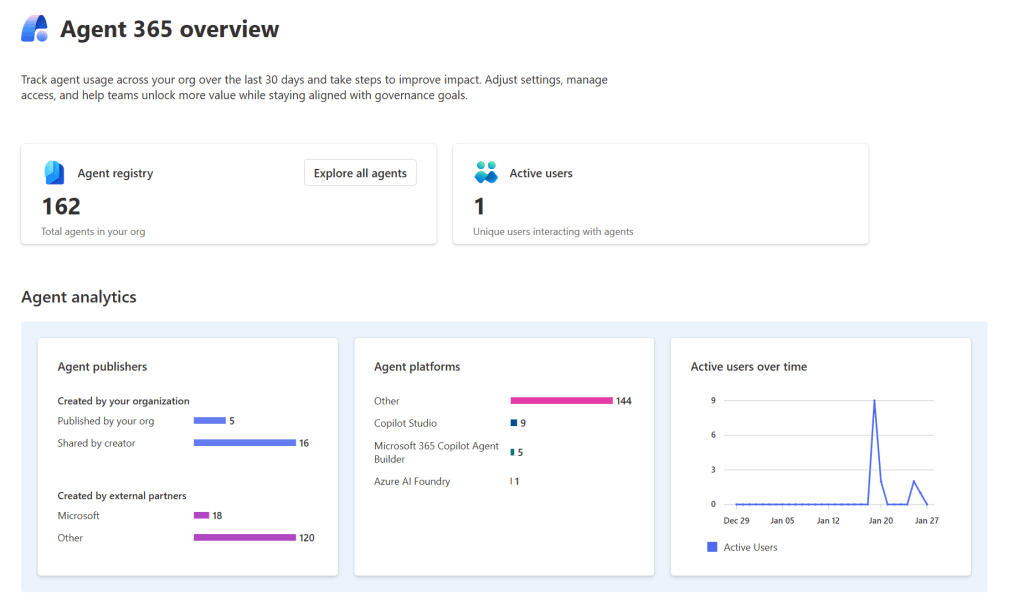
Copilot Agent monitoring and governance tools have continuously developed for the better. They are not ready yet, but you can already do many expected things by combining one or several tools. Today, we already have ways to list and monitor different agents from the tenant, but one constant question has…
-
 Continue reading →: Copilot Studio Development Process for Copilot Agents
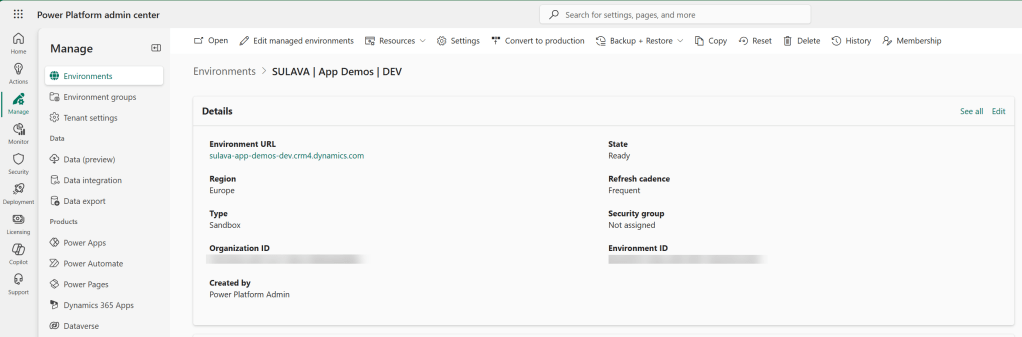
When it comes to AI Agent development in the Microsoft ecosystem, Copilot Studio is probably the most common tool that your users will start to investigate. That raises questions among administrators about the best way to enable a secure and practical development process for users. In general, your Power Platform…
-
Continue reading →: Copilot Agent Quick Guides – 1/4 2025
Like many others, I started to create small Quick Guide documents regarding Copilot Agents, Agent Governance, and Power Platform this January. I find the documents that can be presented as carousels a nice way to process and share topics that might be too small for a full article but too…
Hello,
I’m Mikko

I am a Principal Consultant for Copilot and Power Platform at Sulava. My primary work involves Copilot Studio, Copilot Agents, Power Platform, SharePoint, and Office 365 solutions. I usually act as a system and solution architect or lead consultant in my projects and participate in customer offer processes.